3D Printing Scale Parts
Whether you are a fine scale modeller, or just want to make your sport scale machine a bit more unique, there are now lots of resources online where you can download files for 3D printing. There are also some very good free drawing programs in which you can design and draw your own parts, and save the drawing in a format that a ‘slicing’ program can recognise, work with, and convert into a format that your printer understands. Obviously, the more traditional methods can still be used with balsa wood, plasticard, modelling putty, etc. I am a recent convert to 3D printing for my scale helicopters, so have had to learn as I go along.
There are two main types of 3D printing for the hobbyist — filament and resin printing. Other methods are available, but they are more for commercial enterprises, and the kit costs a fortune. I started off with a 3D printer about 10 years ago, having helped to set up an education programme for primary school children where they could design, print and fly their own micro drone. About two years ago, I was looking at getting a resin printer, as the resolution for small scale parts is a lot better, and I was offered a non-working machine at a good price, with the new spare part included. I learned a bit about the method used to transform an image into a physical object during the repair process. I have had some great results from a printer that only cost me £50!
Let’s talk about the two different methods of printing, filament and resin. Filament printing uses a reel of filament that is mechanically driven through a heated nozzle at a rate and position determined by the ‘slicing’ program, in order to build up your scale part in slices — like a ream of paper — which end up taking the shape of your design. The nozzle or the printing bed, or sometimes both, are moved by computer-controlled stepper motors to accurately lay each slice one on top of the other to build up the final part.
Resin printers work by ‘exposing’ each slice of your design, via a computer screen, to harden a liquid resin at the exposed areas, slice by slice, to build up your finished scale part. If you can imagine your part made of sheets of paper, cut to the right shape and laid one on top of the other to build your part, you will get a better idea of the process. Usually, the only moving part in this system is the printing bed, which is upside down and raises up, slice by slice, from a tank of resin. Underneath the tank is a screen which exposes each slice as the printing bed lifts after each exposure. The resin is kept in a tank that has a clear film at the bottom, so that each exposure adds to the previous one.
This process then requires the part to be washed afterwards, and then cured using a UV light, or sunlight, to finally finish the process ready for painting. I was put off this system for a few years because of the chemicals involved, but I now only use water-washable resin so that I don’t have the smell and risk involved in keeping quantities of IPA alcohol in my den.
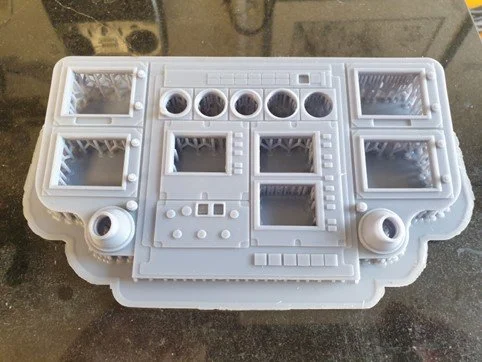
Here is one of my early resin prints from my current build, the Eurocopter EC145 — the main instrument panel. I downloaded an image from the internet and, using the free version of Fusion, I was able to import the image as a canvas, scale it to the correct size, then draw and extrude all the different switches, screens and screws you see here, in their exact positions. There are also more simple programs, such as Tinkercad, in which basic shapes can be built up and added to in order to achieve similar results.
28 January 2026
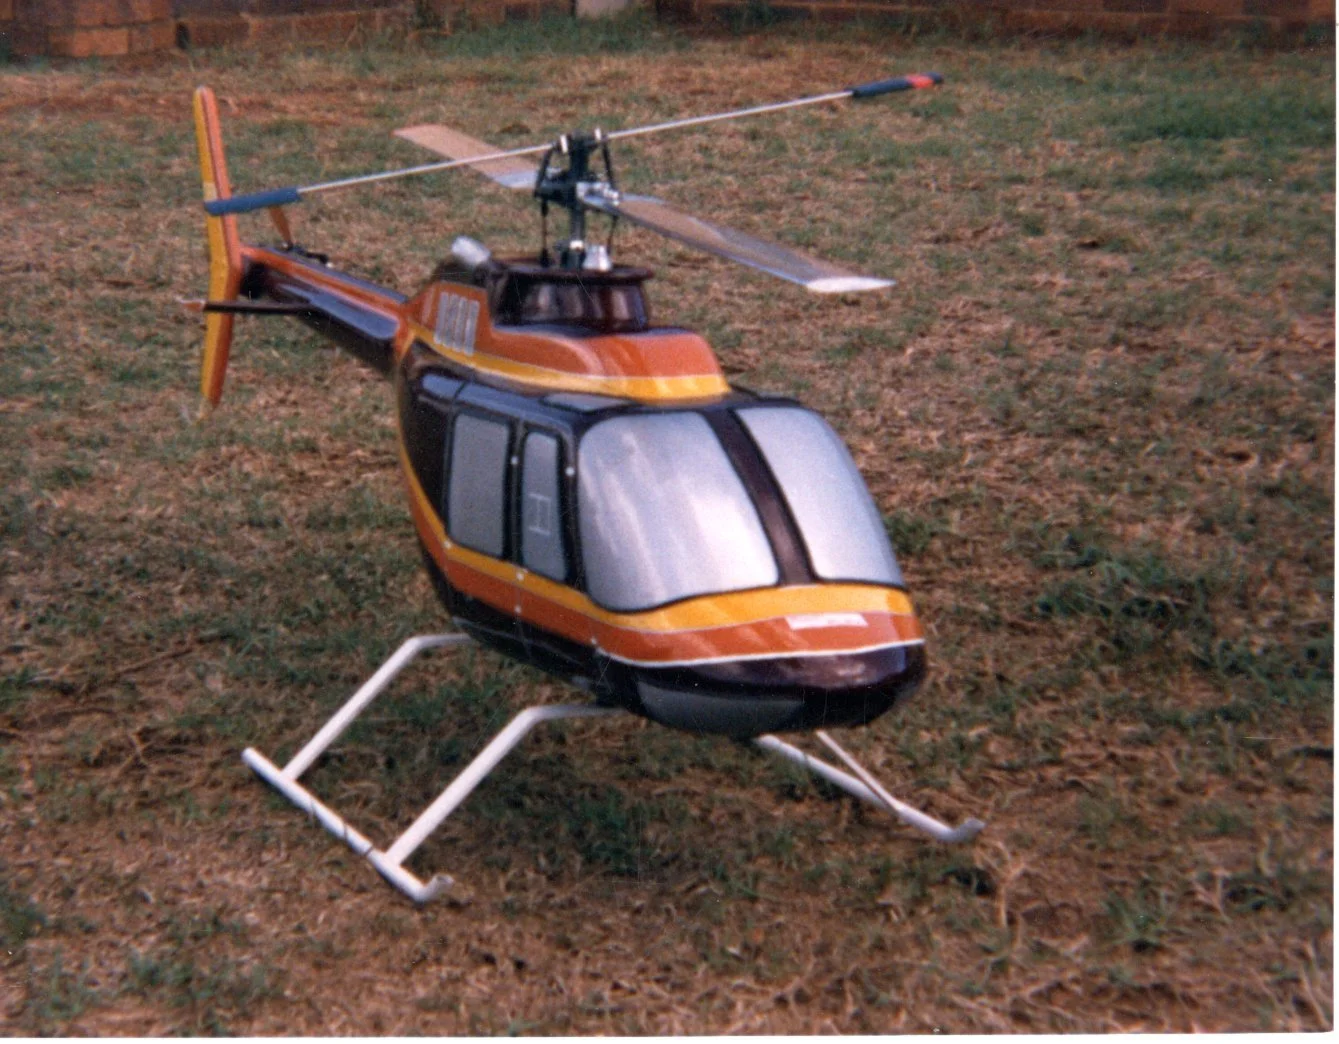
Before you get on to 3D printing those scale details, you need to decide which helicopter and version you will be building. I have always liked the classic Bell 206 JetRanger, and in fact my first scale helicopter was a Kavan JetRanger modified to fit my Schluter Heliboy trainer. I hadn’t mastered circuits yet; in fact, I hadn’t truly mastered hovering. I can remember my brother coming to see me fly my ‘scale’ machine. I’d taken off and got into a hover, but the heli went a bit higher than I wanted and drifted a bit further than I’d planned too. He commented on how nice it looked, and I said, “Yes, doesn’t it, but I don’t know what to do now!”
Fortunately, I stayed calm and managed to coax it back to a safe landing. Sadly, that model met its end when I attempted my first circuit. I’d never flown fixed wing and I gave a wrong input when it turned to face me. Ooops… and I think I still have part of the broken undercarriage in my attic.
I was living in Johannesburg when I learned to fly, and there weren’t that many ‘experts’ out there. I was lucky enough to meet up with, and be helped by, an experienced pilot who was a great inspiration and introduced me to many other helicopter pilots in SA — a great footing which led to me still flying models 42 years later.
Nowadays, with the influx of GPS-stabilised models ready to fly off the shelf, you can start your scale journey right from the beginning. I would still recommend getting a non-GPS pod-and-boom model to practise actual flying skills, in addition to a simulator, so that when you make the step up to a ‘proper’ scale model you have the skills to enjoy watching the model as it flies. There is a lot more info out there now too, so help and advice is readily available.
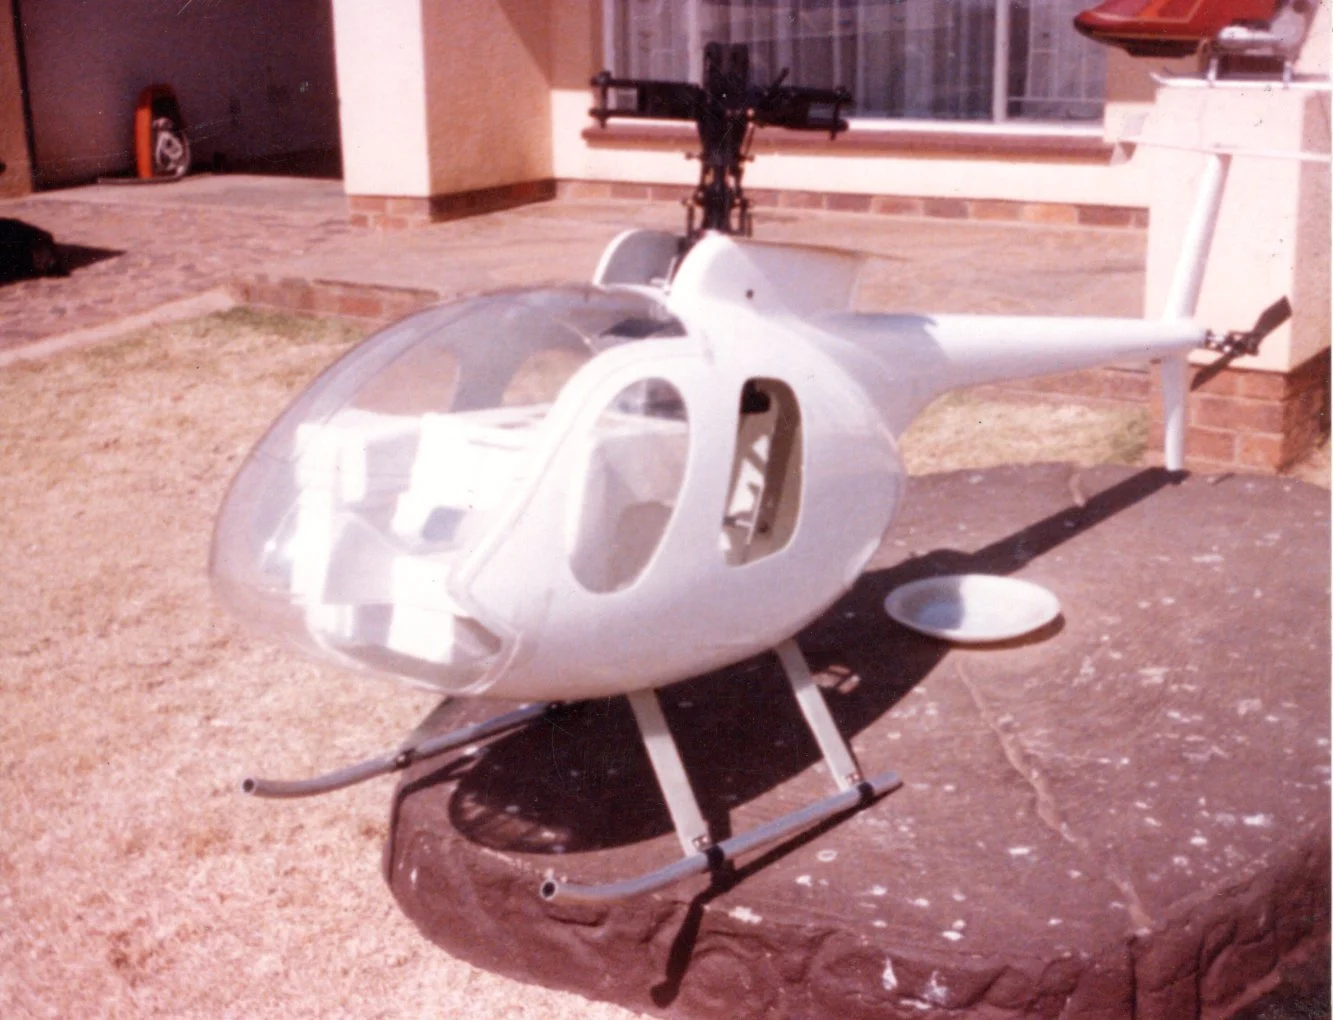
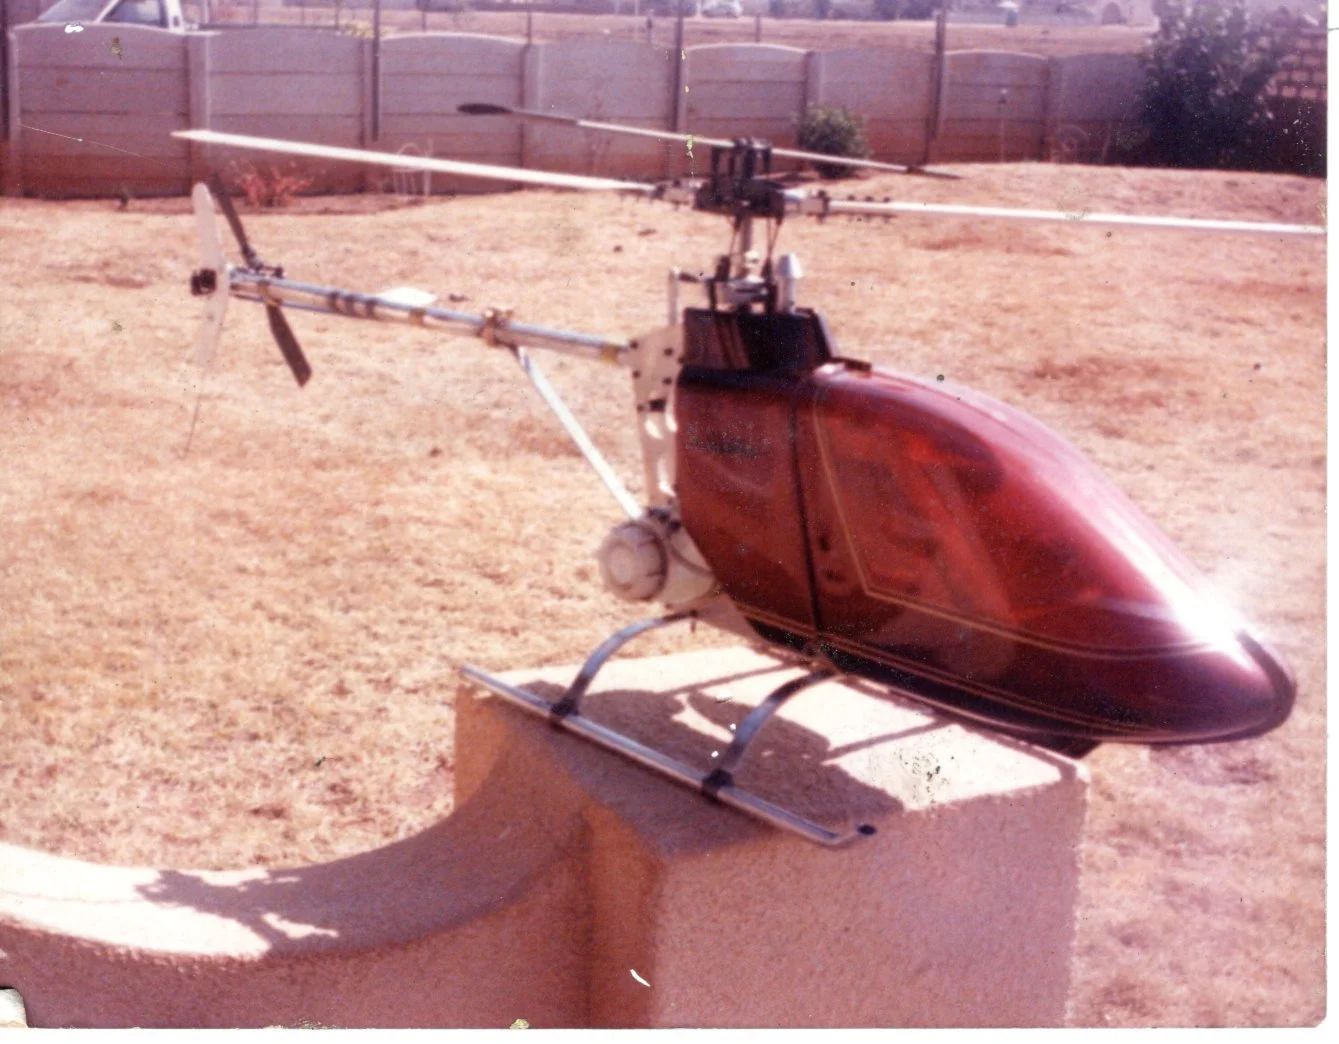
Here are a couple of pictures of my early models — the Schluter Heliboy pod and boom, the same mechanics in the Kavan JetRanger fuselage (as yet unflown in this picture), and my next scale model (1986), the Graupner Helimax 60 in the Hughes 500E fuselage. As you can see, scale has been a great interest to me from the very beginning.